Many Minecraft players need Java to run mods, servers, or installers like OptiFine or Fabric. However, sometimes even after installing Java, .jar files do not open correctly. In this guide, I will show you how to properly download and install Java, and how to use the Jarfix tool to repair file associations.
Requirements
- Windows System (Guide focuses on Windows 10/11)
- Internet access
Quick Start
- Download Java 17 (or newer) from the official website.
- Install it using the standard installer.
- If
.jarfiles still don’t show the coffee cup icon, download and run Jarfix.
Step-by-Step: Installing Java
First, we need to ensure you have Java installed. Without it, .jar files won’t work at all.
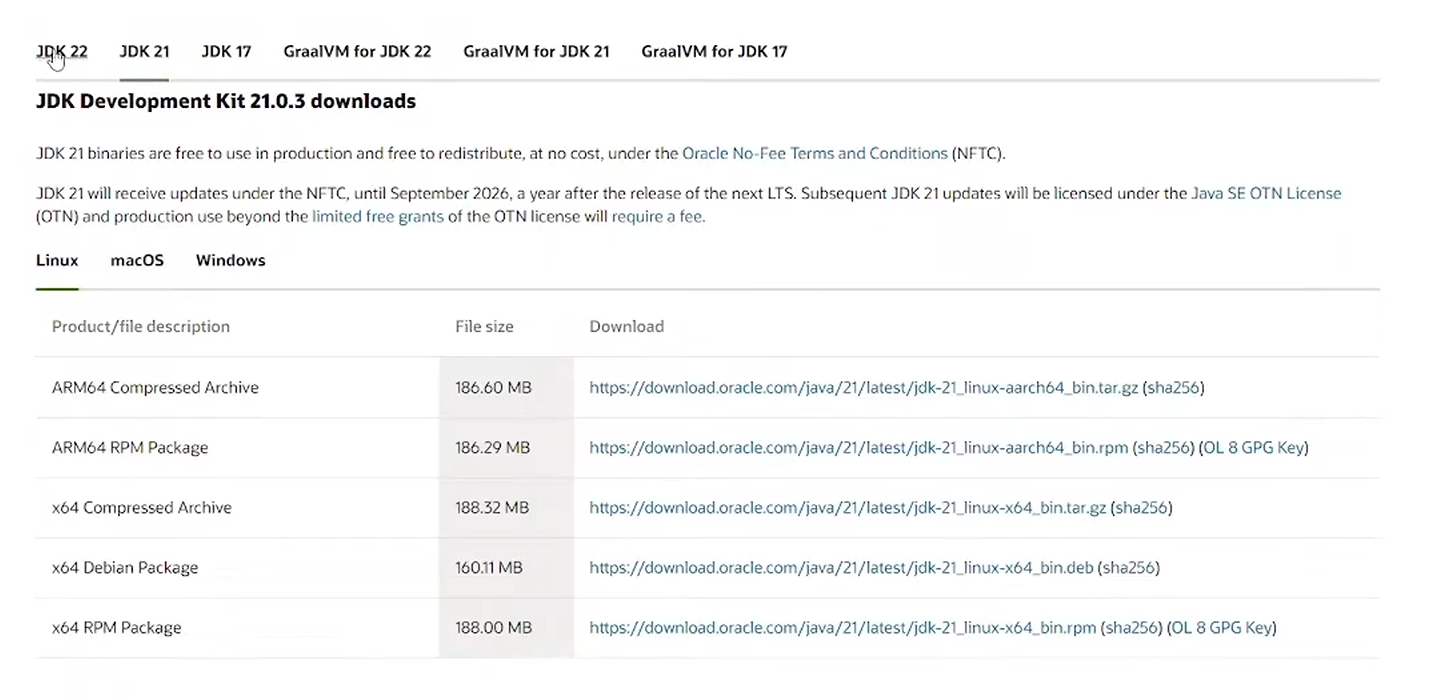
- Go to the Java download page (Oracle or OpenJDK).

- Select the Windows tab and download the x64 Installer.

- Run the downloaded installer file.
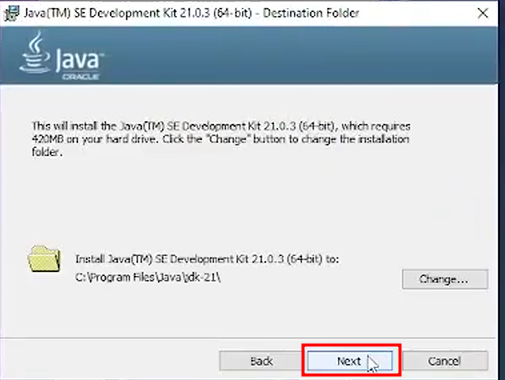
- Go through the installation process by clicking Next.
Step-by-Step: Fixing with Jarfix
If after installing Java your .jar files still look like blank pages, ZIP files, or open in Notepad/WinRAR, you need to use Jarfix.
- Download Jarfix.

- Run the downloaded
jarfix.exeprogram (no installation required, it’s a small file).
- Accept the success message (“The .jar suffix has been restored successfully”).
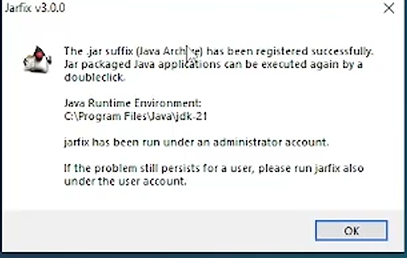
- Your
.jarfiles should now have the correct Java icon and open with a double click.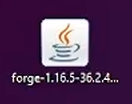
Troubleshooting
- Jarfix not working? Make sure you installed Java first. Jarfix only repairs the link between files and Java. Without Java, there is nothing to fix.
- Still opening in WinRAR? Right-click the .jar file -> Open with -> Choose another app -> Java(TM) Platform SE binary -> Always use this app.
