
Litematica is an incredibly useful mod for builders in Minecraft, allowing you to display schematic “holograms” of structures directly in your game world. This makes it much easier to replicate complex builds block by block.
TL;DR: Quick Install
- Make sure you have Fabric and Fabric API installed.
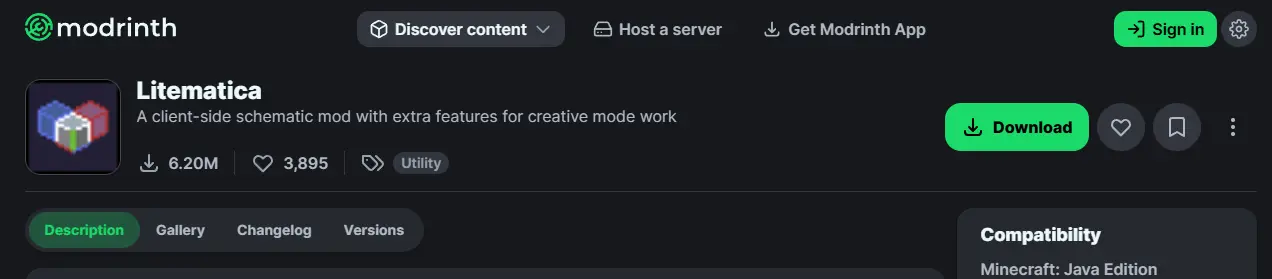
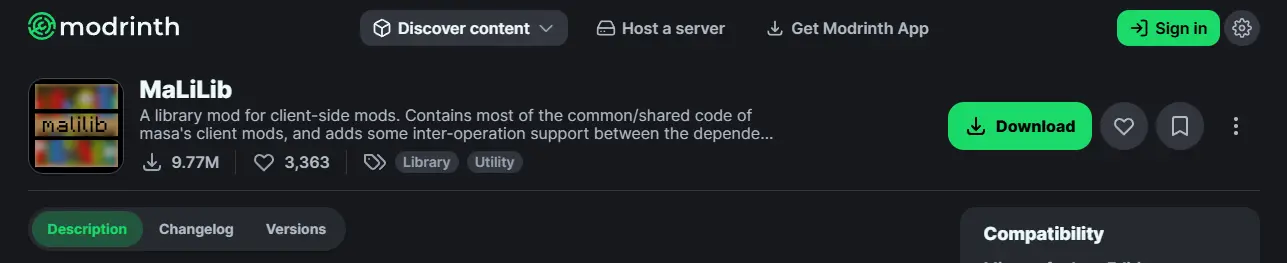
- Download Litematica and MaLiLib for your version of Minecraft (e.g., from Modrinth).
- Paste both
.jarfiles into your%appdata%/.minecraft/modsfolder. - Launch the game using the Fabric profile.
- Press
Mto open the mod’s menu.
Prerequisites
Before you begin, ensure you have the Fabric environment set up. Litematica will not work without it.
- Minecraft: Obviously, you need to own the game.
- Fabric Loader: The foundation for running Fabric mods. If you don’t have it, use our guide: How to Install Fabric in Minecraft.
- Fabric API: A crucial library for most Fabric mods. Installation guide: How to Install Fabric API.
- MaLiLib: A library that Litematica depends on. You must download it separately.
Step 1: Download Litematica and MaLiLib
Always download mods from official sources like Modrinth. You’ll need to download two files: the main Litematica mod and the required MaLiLib library. Make sure both are compatible with your game version.
Step 2: Locate the mods folder
Now you need to place the downloaded files in the correct location.
- Run the Minecraft Launcher.
- Go to the
Installationstab. - Hover over your Fabric installation and click the folder icon.
- This will open the main
.minecraftgame directory. Find themodsfolder inside. If it doesn’t exist, simply create it.
Step 3: Paste the mod files
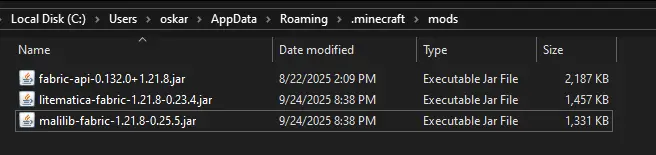
Copy or move the .jar files you downloaded earlier (litematica-…jar and malilib-…jar) directly into the mods folder. Make sure you also have Fabric API in there.
Step 4: Launch the Game and Learn the Basics
- Return to the Minecraft launcher.
- Ensure the Fabric installation is selected, then click
Play. - Once the game loads, enter any world.
By default, you can open the Litematica menu with the M key. If you see this menu, the mod was installed correctly!

Basic Litematica Usage
- Create a Schematic: Use the tool (a stick by default) and the
Area Selectionmode to select a region you want to save.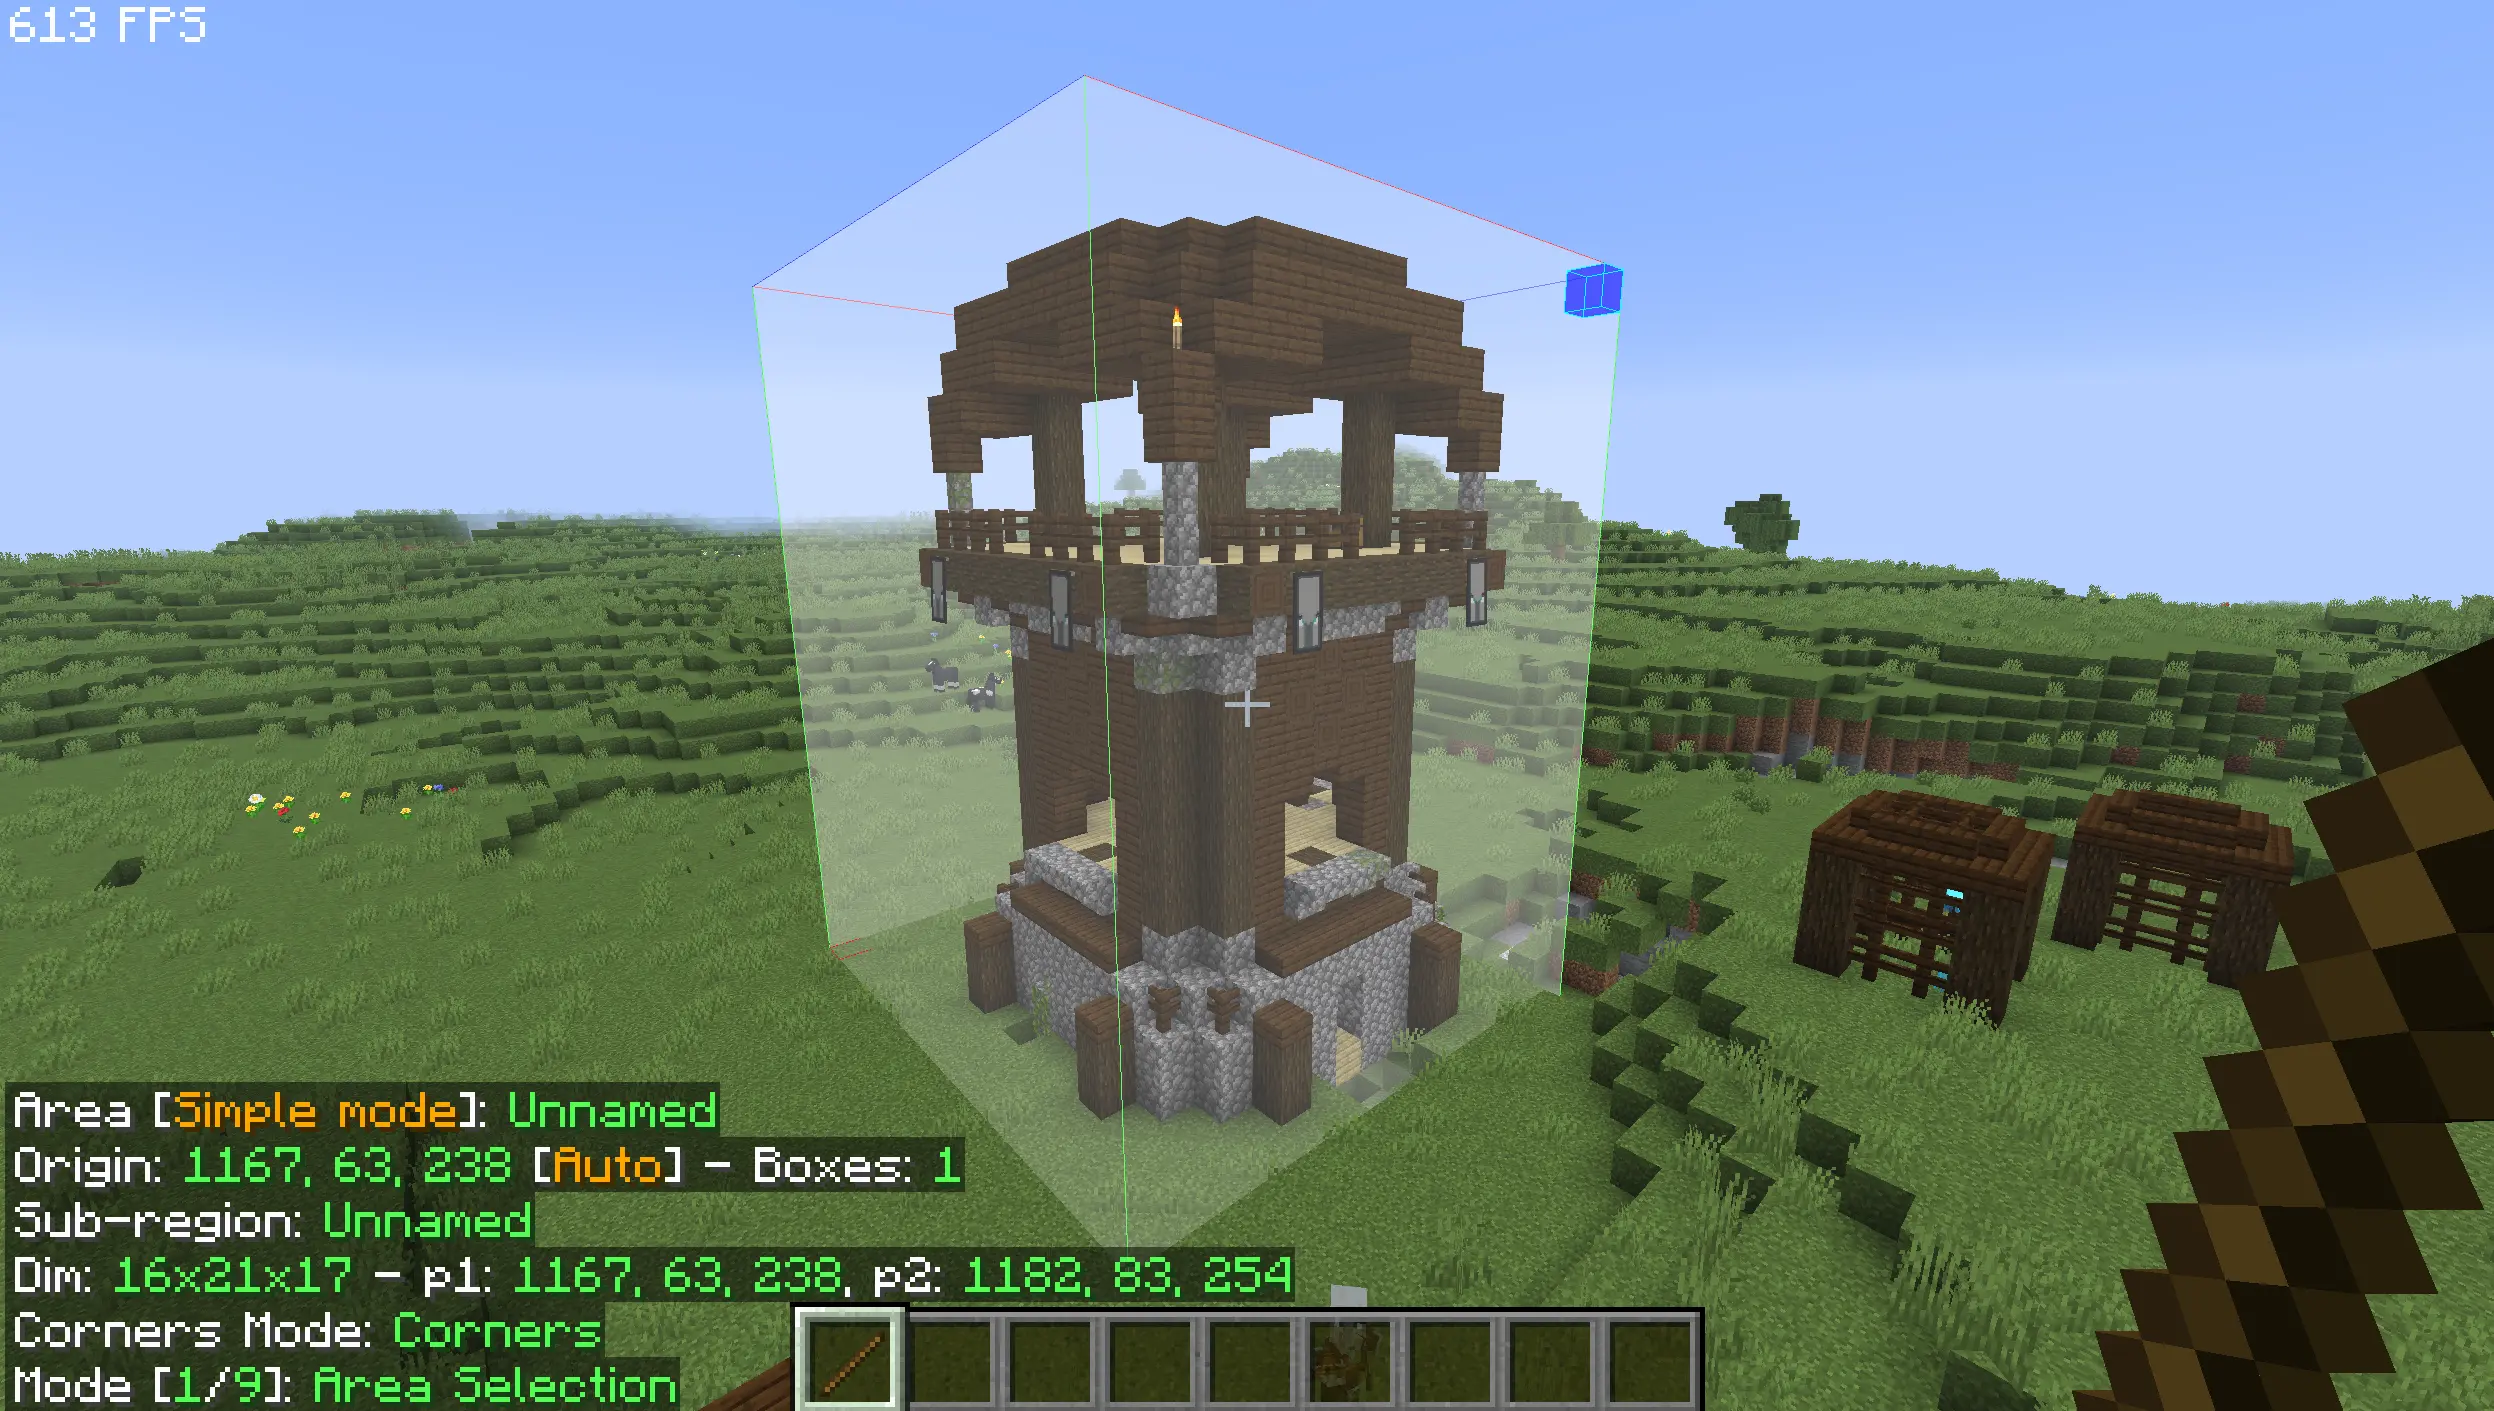
- Load a Schematic: From the menu (
M), go toLoad Schematicsto choose a previously saved file.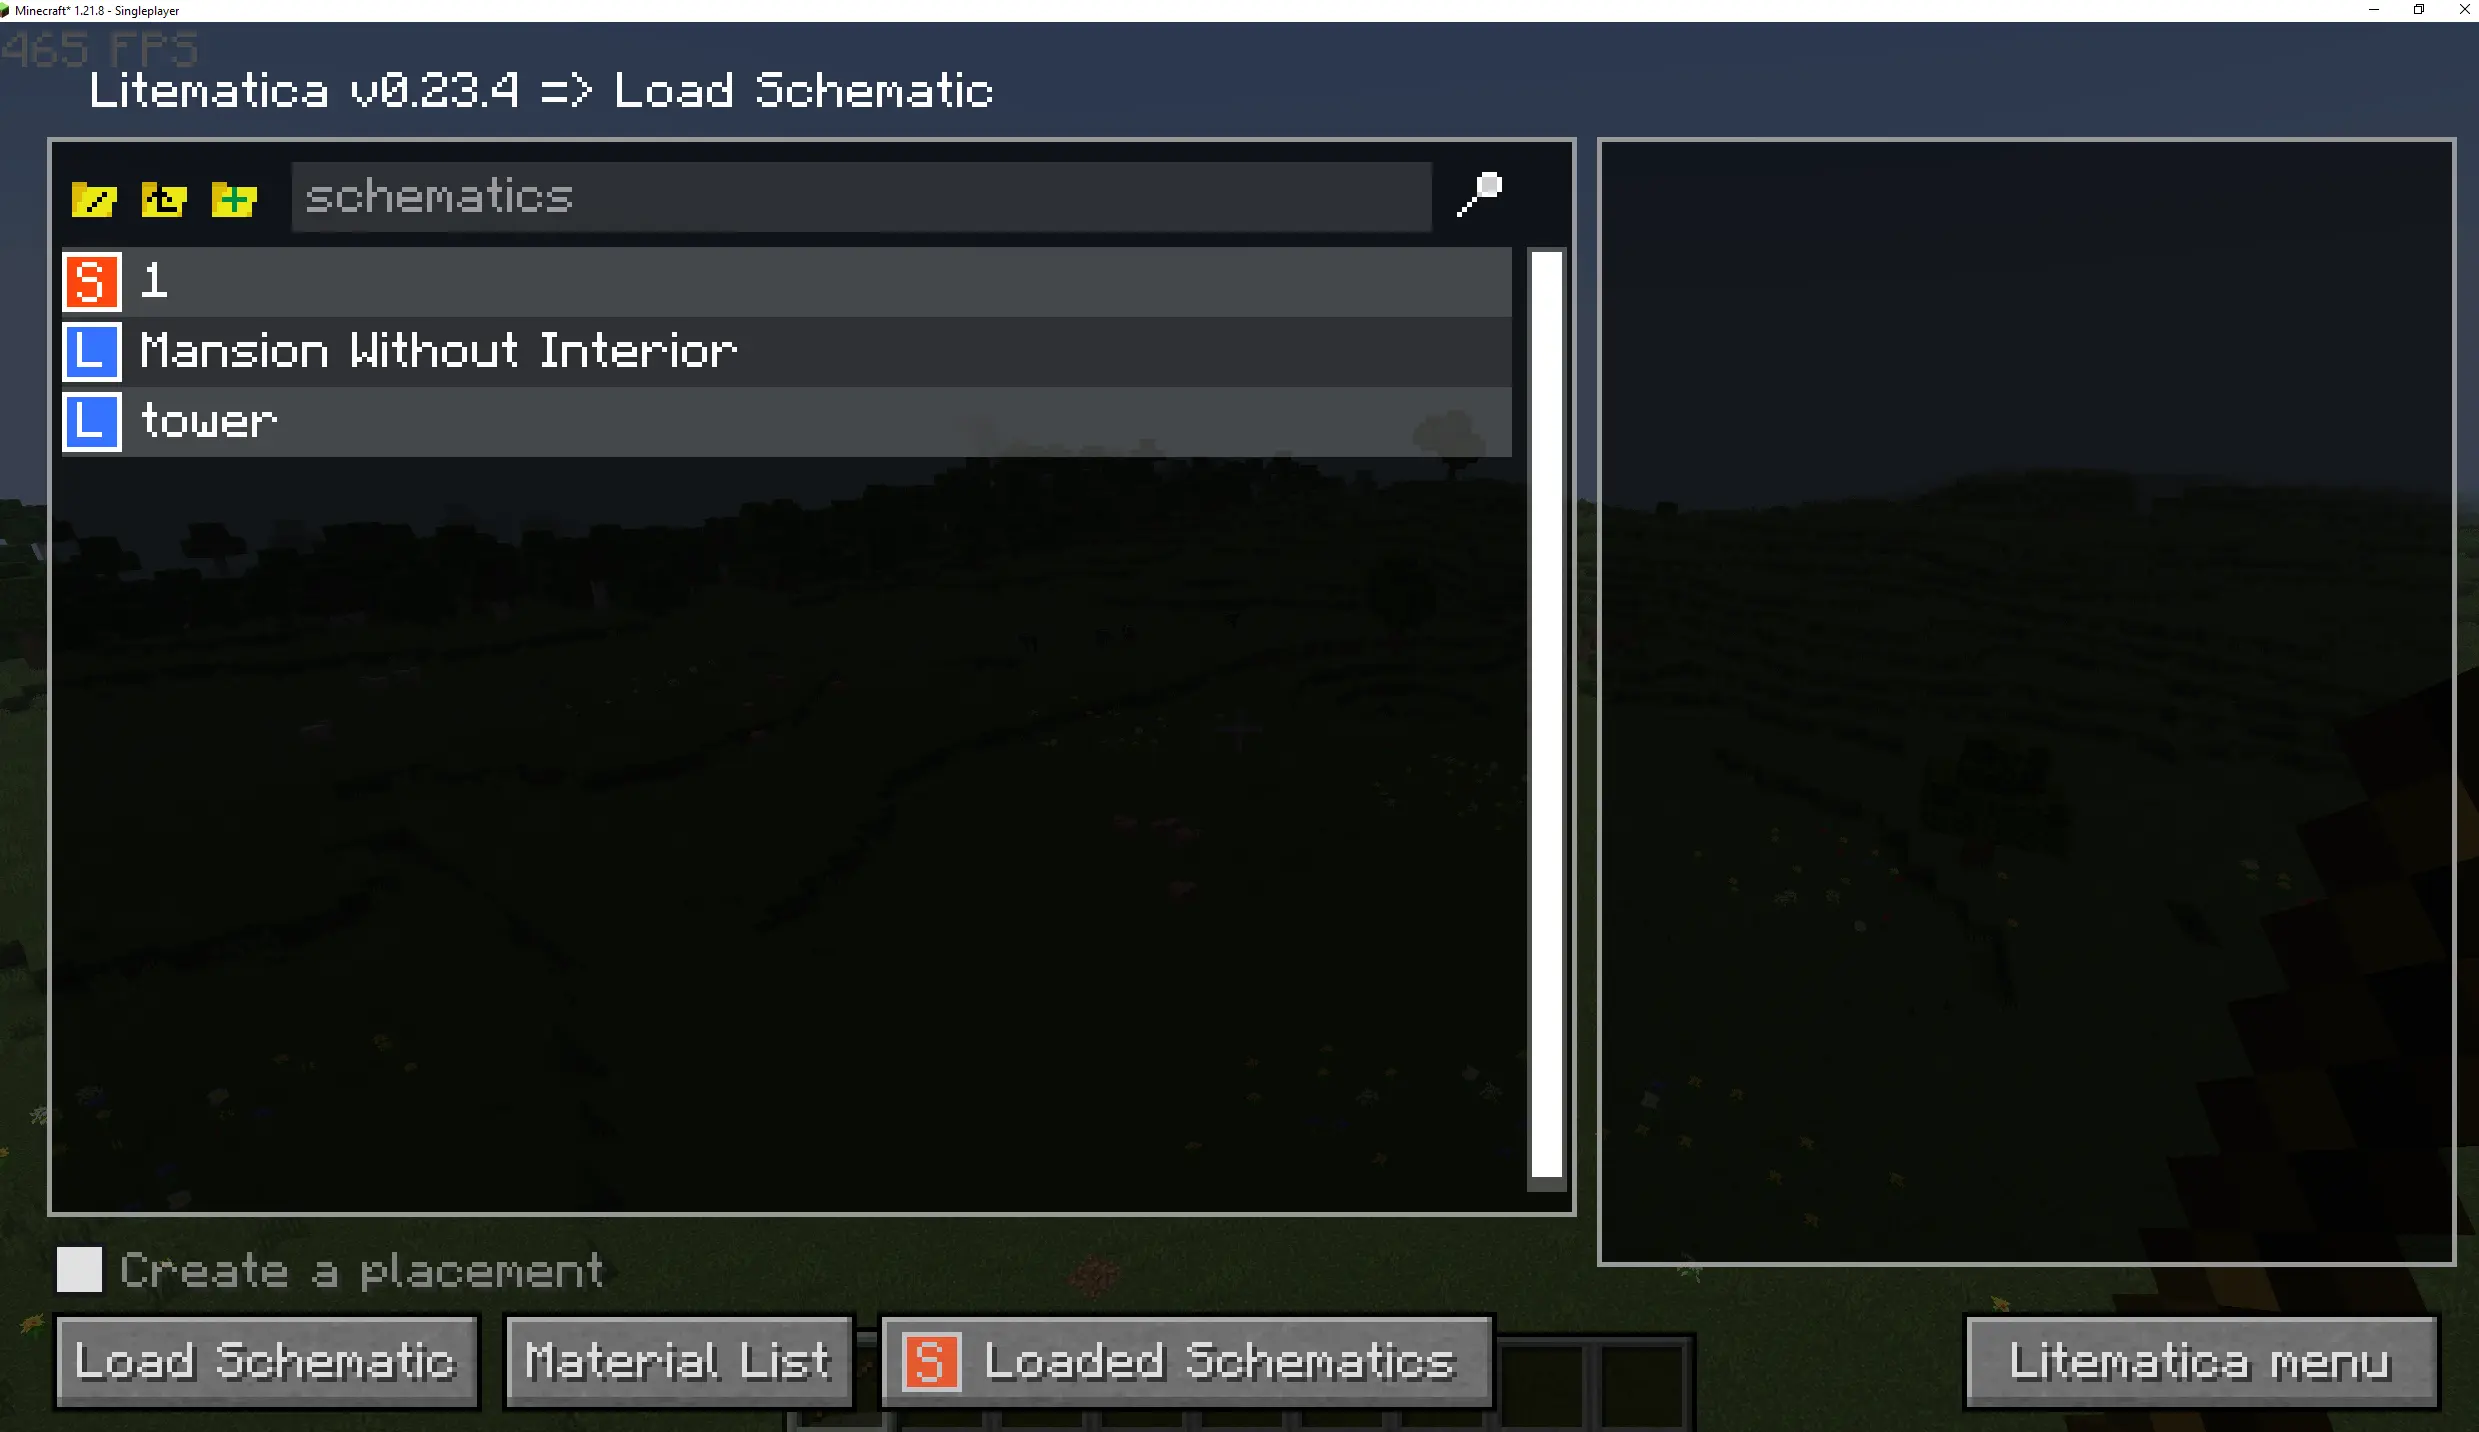
- Place a Schematic: After loading, go to
Schematic Placementsand position the hologram in the world to start building.
Common Issues and Solutions
- The game crashes on launch: Check if the versions of Litematica, MaLiLib, and Fabric are all compatible.
- I don’t see the mod menu in the game: Ensure you launched the game using the Fabric profile and that all
.jarfiles are in themodsfolder.
Uninstalling the Mod
To uninstall Litematica, simply delete the litematica-...jar and malilib-...jar files from your mods folder.

Downloads & Links
- Fabric API — Required by most mods
- Litematica on Modrinth — Official mod page
- MaLiLib (dependency) on Modrinth — Library required by Litematica