
Installing Minecraft modpacks has never been easier, thanks to the Modrinth App. This modern tool allows you to browse, install, and update modpacks with just a few clicks, eliminating the need for manual file management.
TL;DR: Download and install the Modrinth App, search for a modpack you like (e.g., “Better Minecraft”), click “Install”, and then “Play”. The app automatically handles the rest. Compatibility: All Versions • Loader: Fabric/Forge/Quilt • Platforms: Win/Linux/macOS
What is the Modrinth App?
The Modrinth App is an official, open-source Minecraft launcher developed by the Modrinth platform. Its primary goal is to simplify the process of installing and managing mods and modpacks. The app automatically creates separate game instances for each pack, ensuring the correct versions of Minecraft, the loader (e.g., Fabric, Forge), and all modifications are used.
Why Use the Modrinth App?
The main advantages are convenience and security. The Modrinth App downloads files directly from its trusted repository, automatically resolves mod dependencies, and allows you to update an entire modpack with a single click. It’s the perfect solution for both beginners and advanced players who value organization and time-saving.
Requirements
- An official copy of Minecraft: Java Edition.
- An internet connection to download the app and modpacks.
- Administrator privileges to install the application.
Step-by-Step Guide
Step 1 — Download and Install the Modrinth App
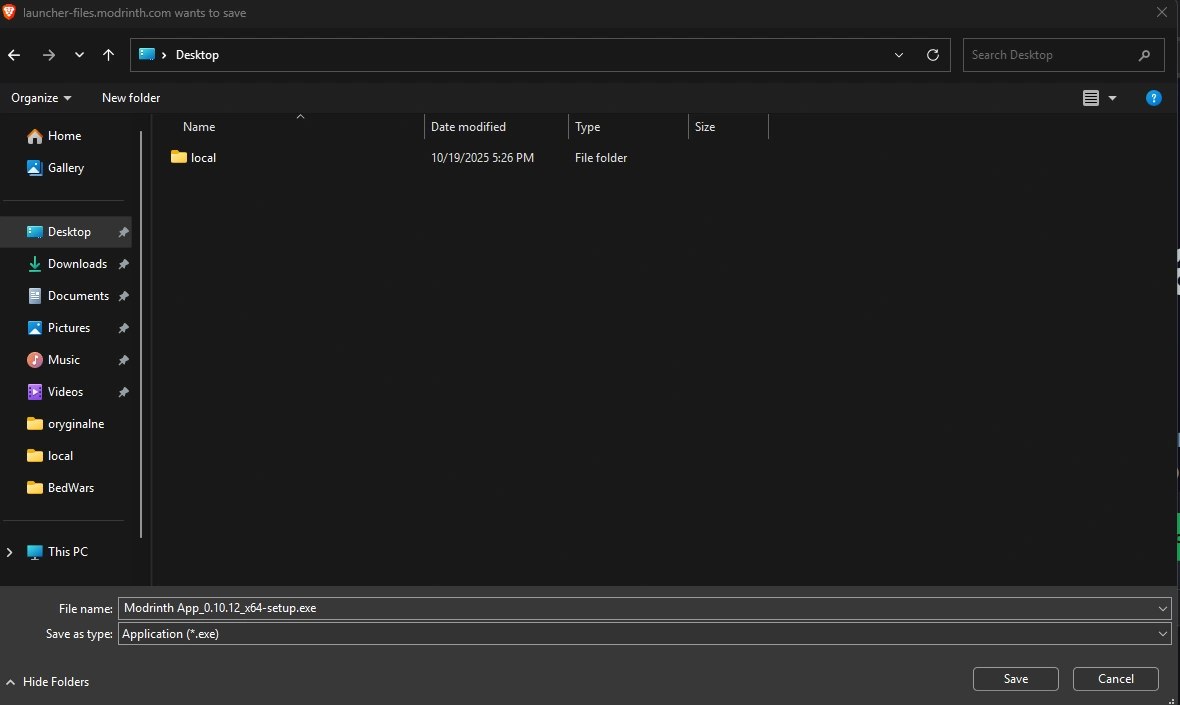
- Go to the official Modrinth website (link at the bottom of the page) and click the download button for your operating system (Windows, macOS, or Linux).

- Run the downloaded installer.
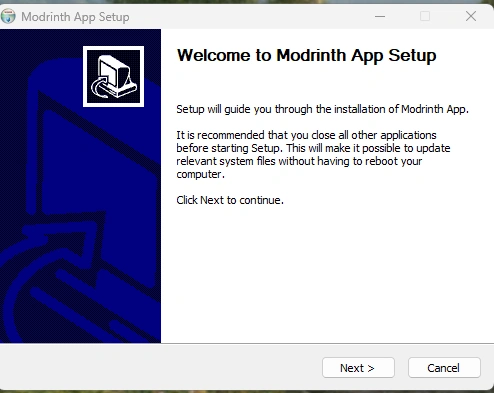
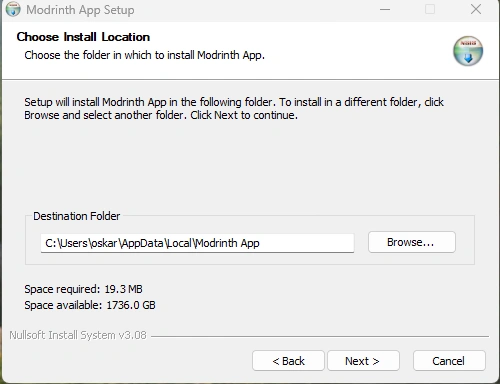
- Follow the on-screen instructions. Usually, this just means clicking “Next” a few times, accepting the default settings.
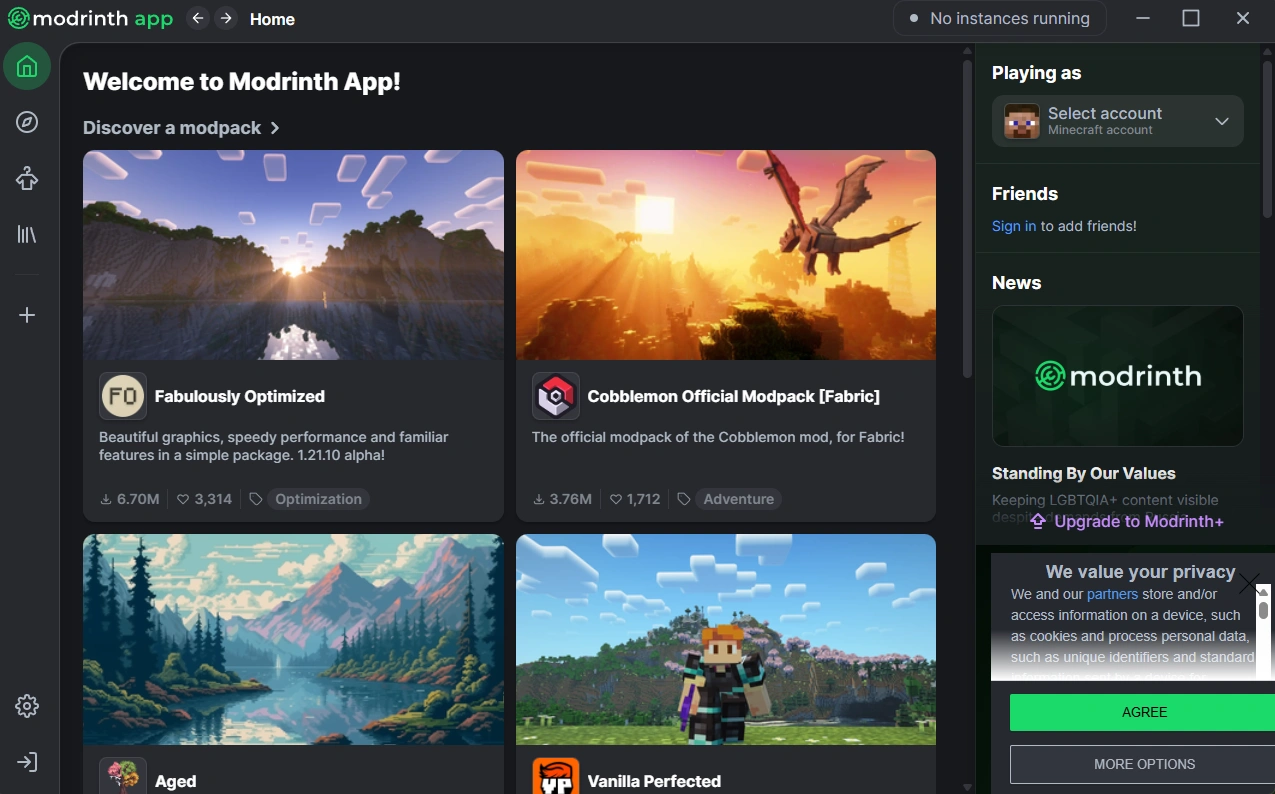
- Once the installation is complete, launch the Modrinth App.
Step 2 — Log In and Choose a Modpack
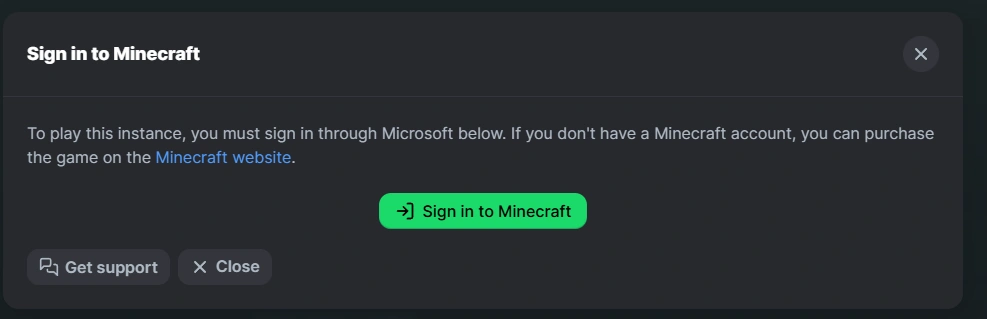
- Log in with your Microsoft account to allow the app to connect to your copy of Minecraft.
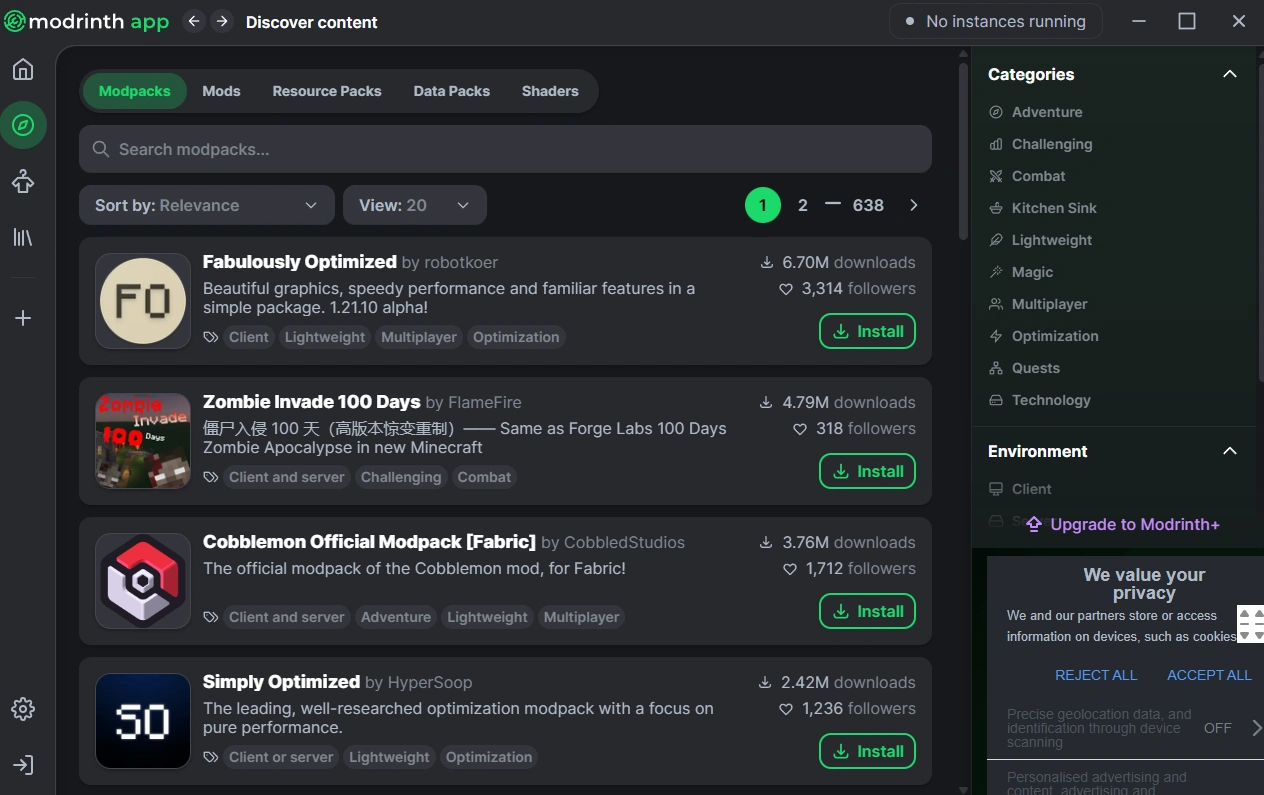
- Use the search bar to find a modpack you’re interested in. In our example, we’ll search for the popular “Better Minecraft” modpack.
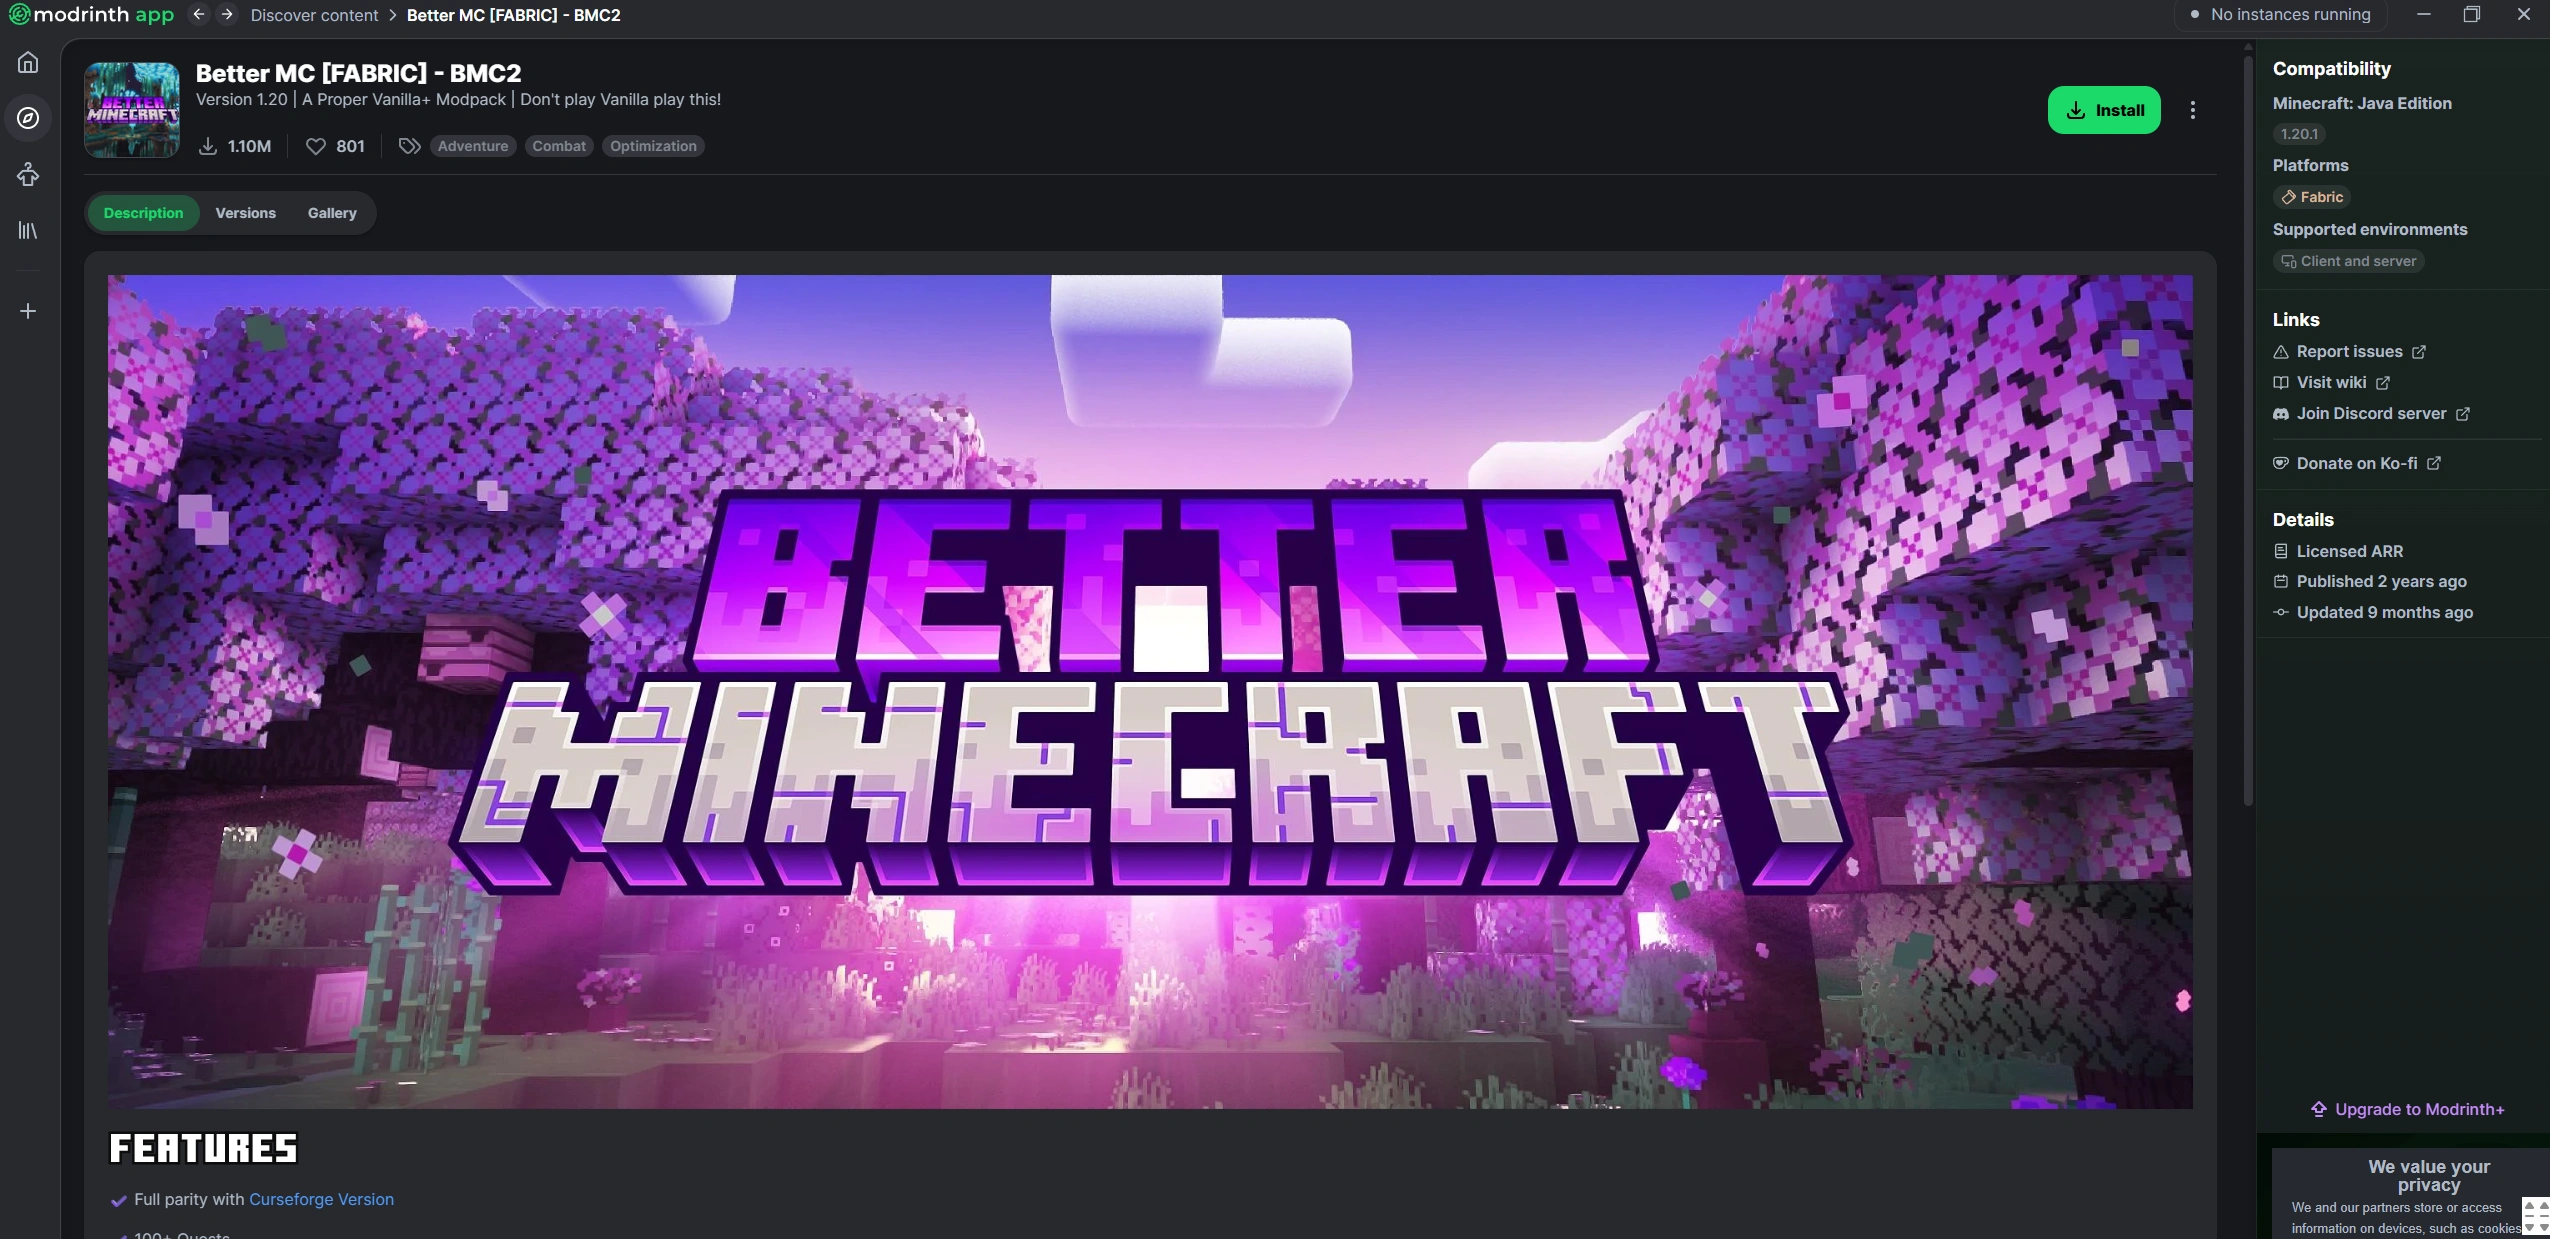
- Select the pack from the search results to go to its page.
Step 3 — Install and Launch the Pack
- On the modpack page, click the large “Install” button. The app will automatically download the latest stable version of the pack, along with all required mods and the loader.
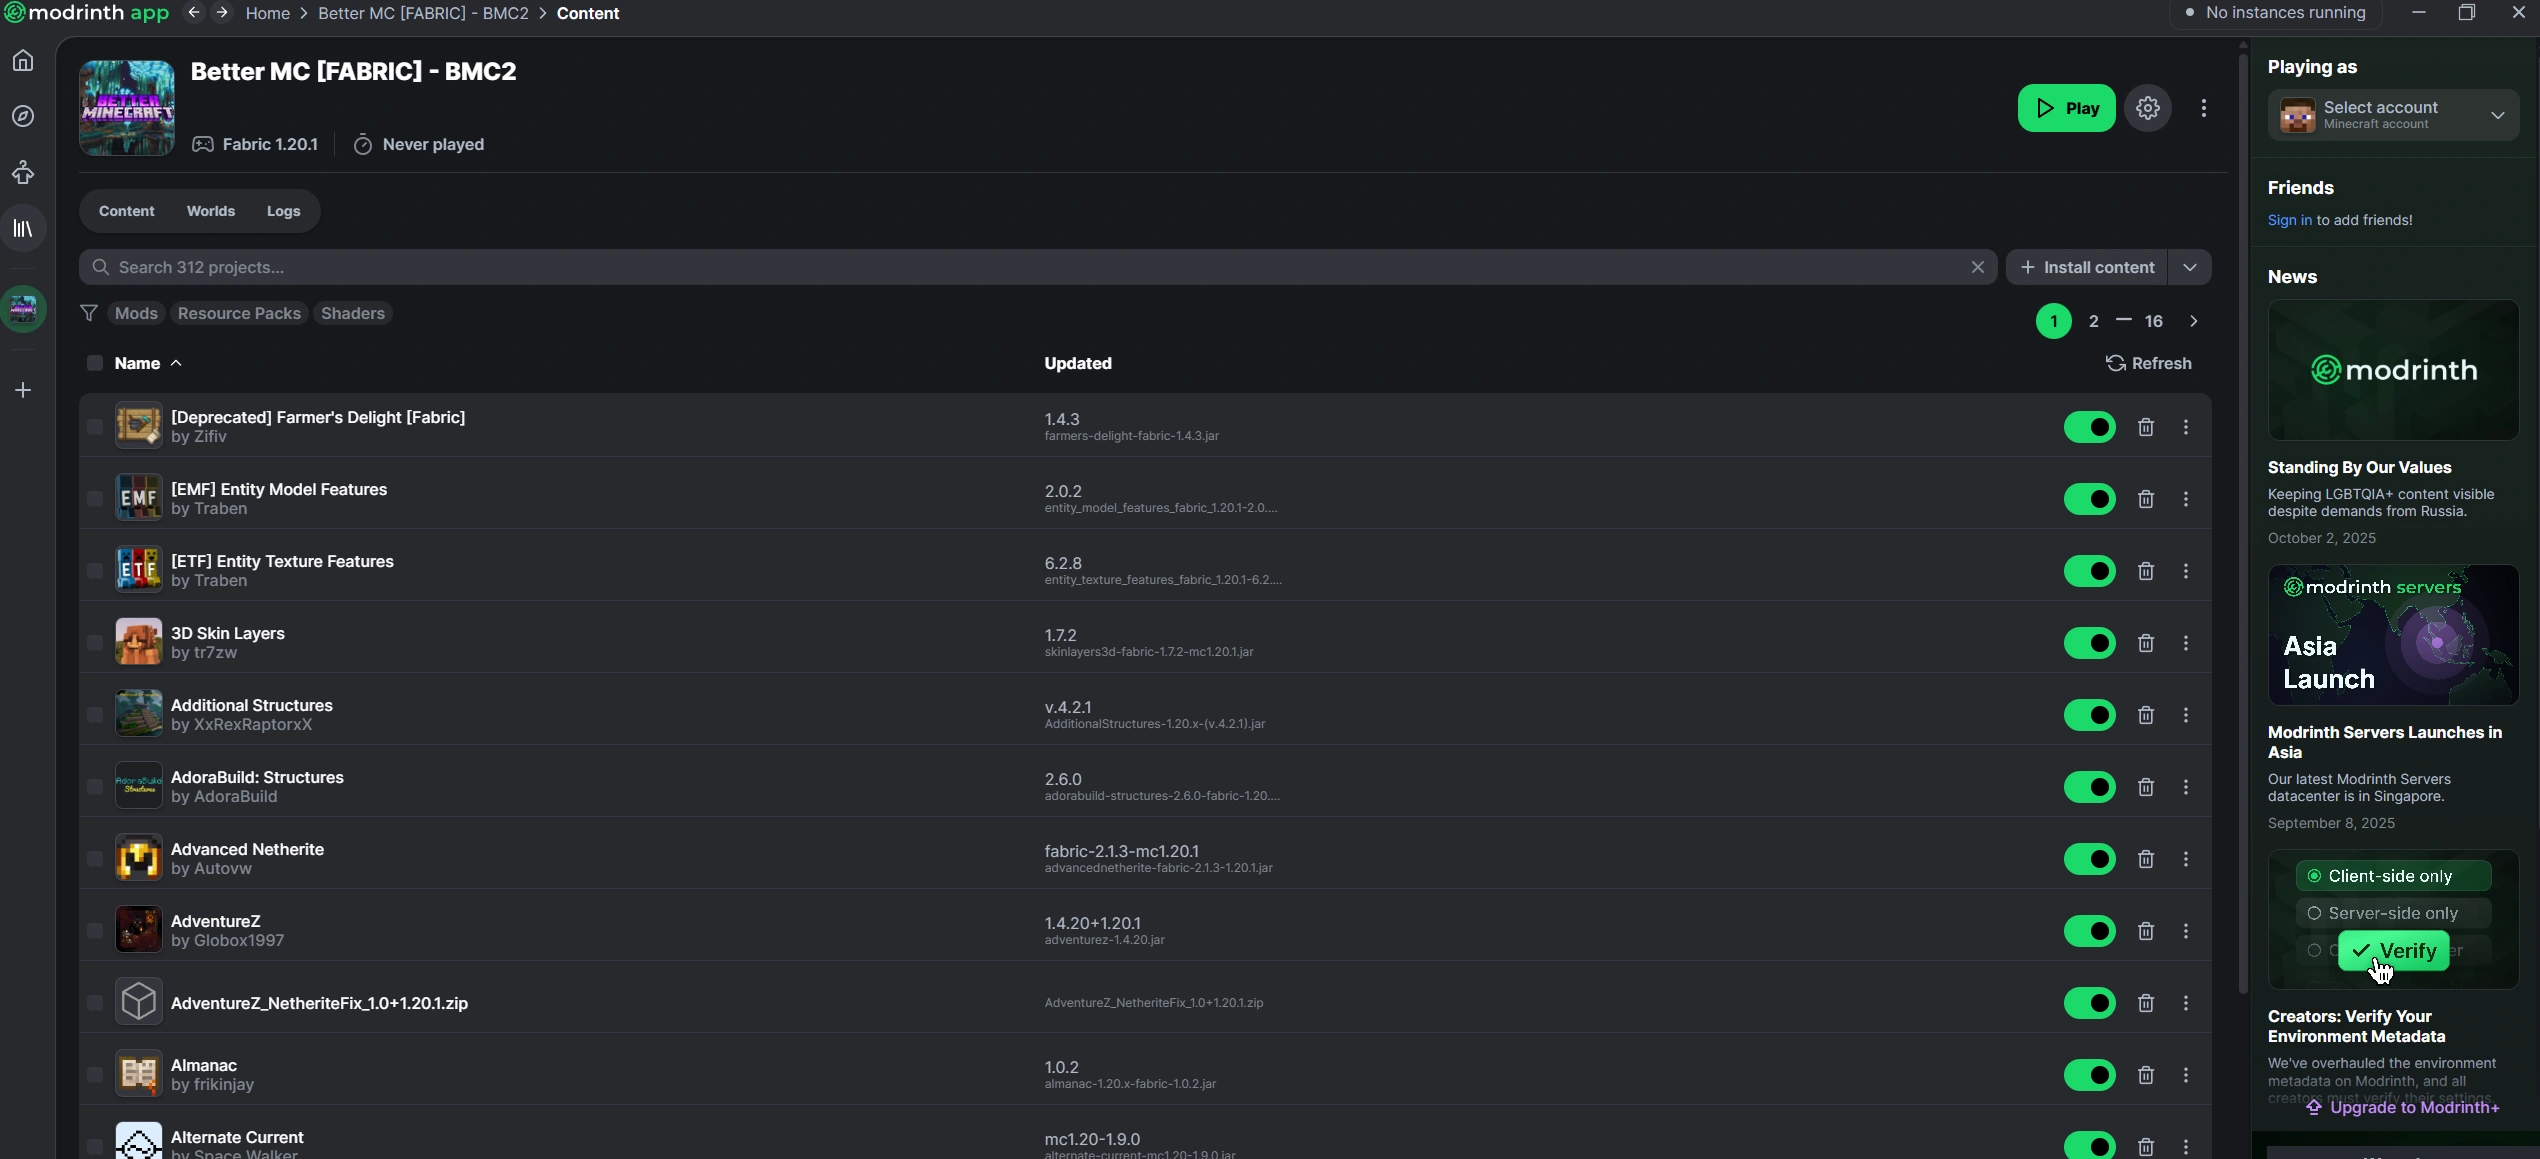
- After the download is finished, the “Install” button will change to “Play”. Click it to launch Minecraft with the modpack installed.
Settings and Optimization (Optional)
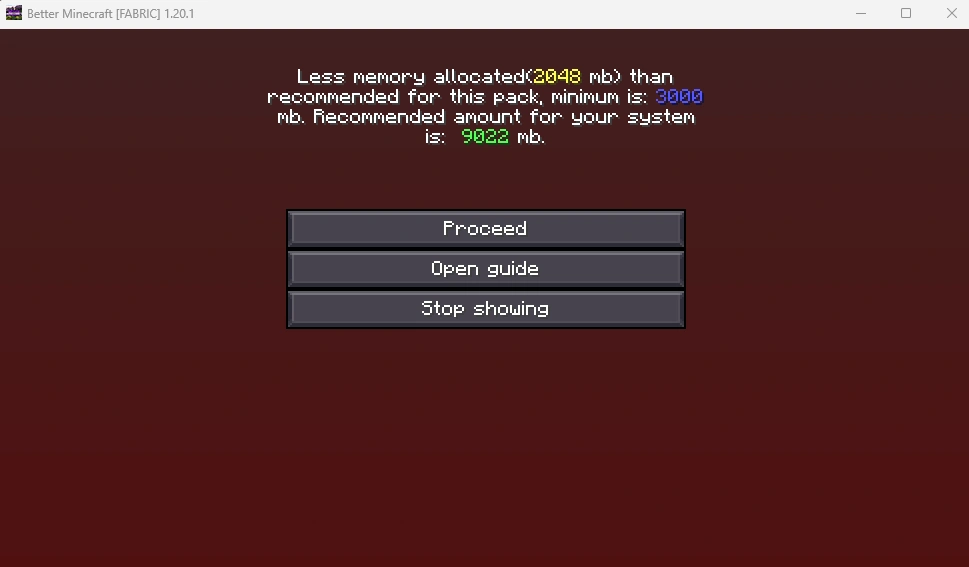
If the game runs slowly or you get a message about insufficient memory, you can increase the RAM allocation for that instance.
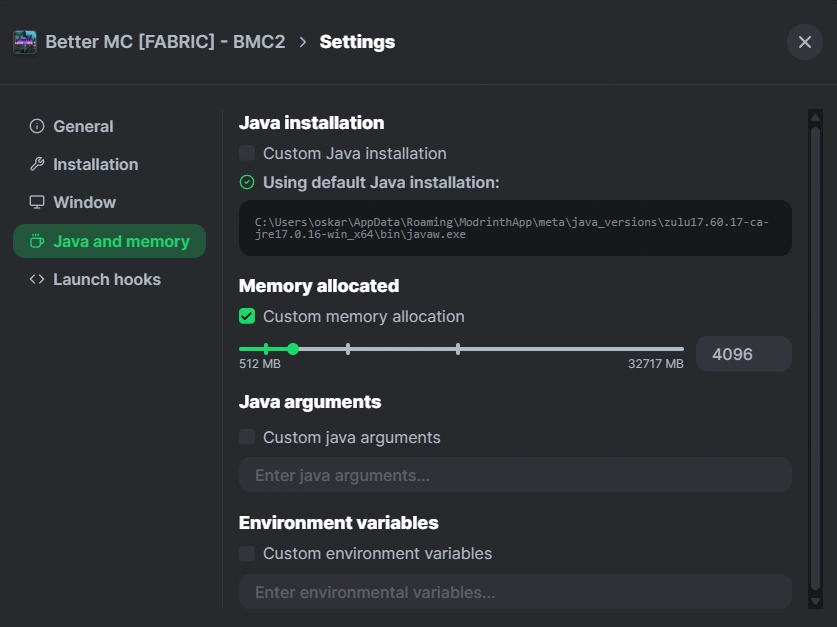
- Go to the Instances tab and click the settings icon next to your modpack.
- In the settings, find the “Memory allocation” option and increase the value, for example, to 4096 MB (4 GB) or more, depending on the pack’s recommendations and your computer’s available memory.
Common Issues and Solutions
- Game doesn’t launch: Ensure you are logged into the correct Microsoft account that owns a license for Minecraft: Java Edition.
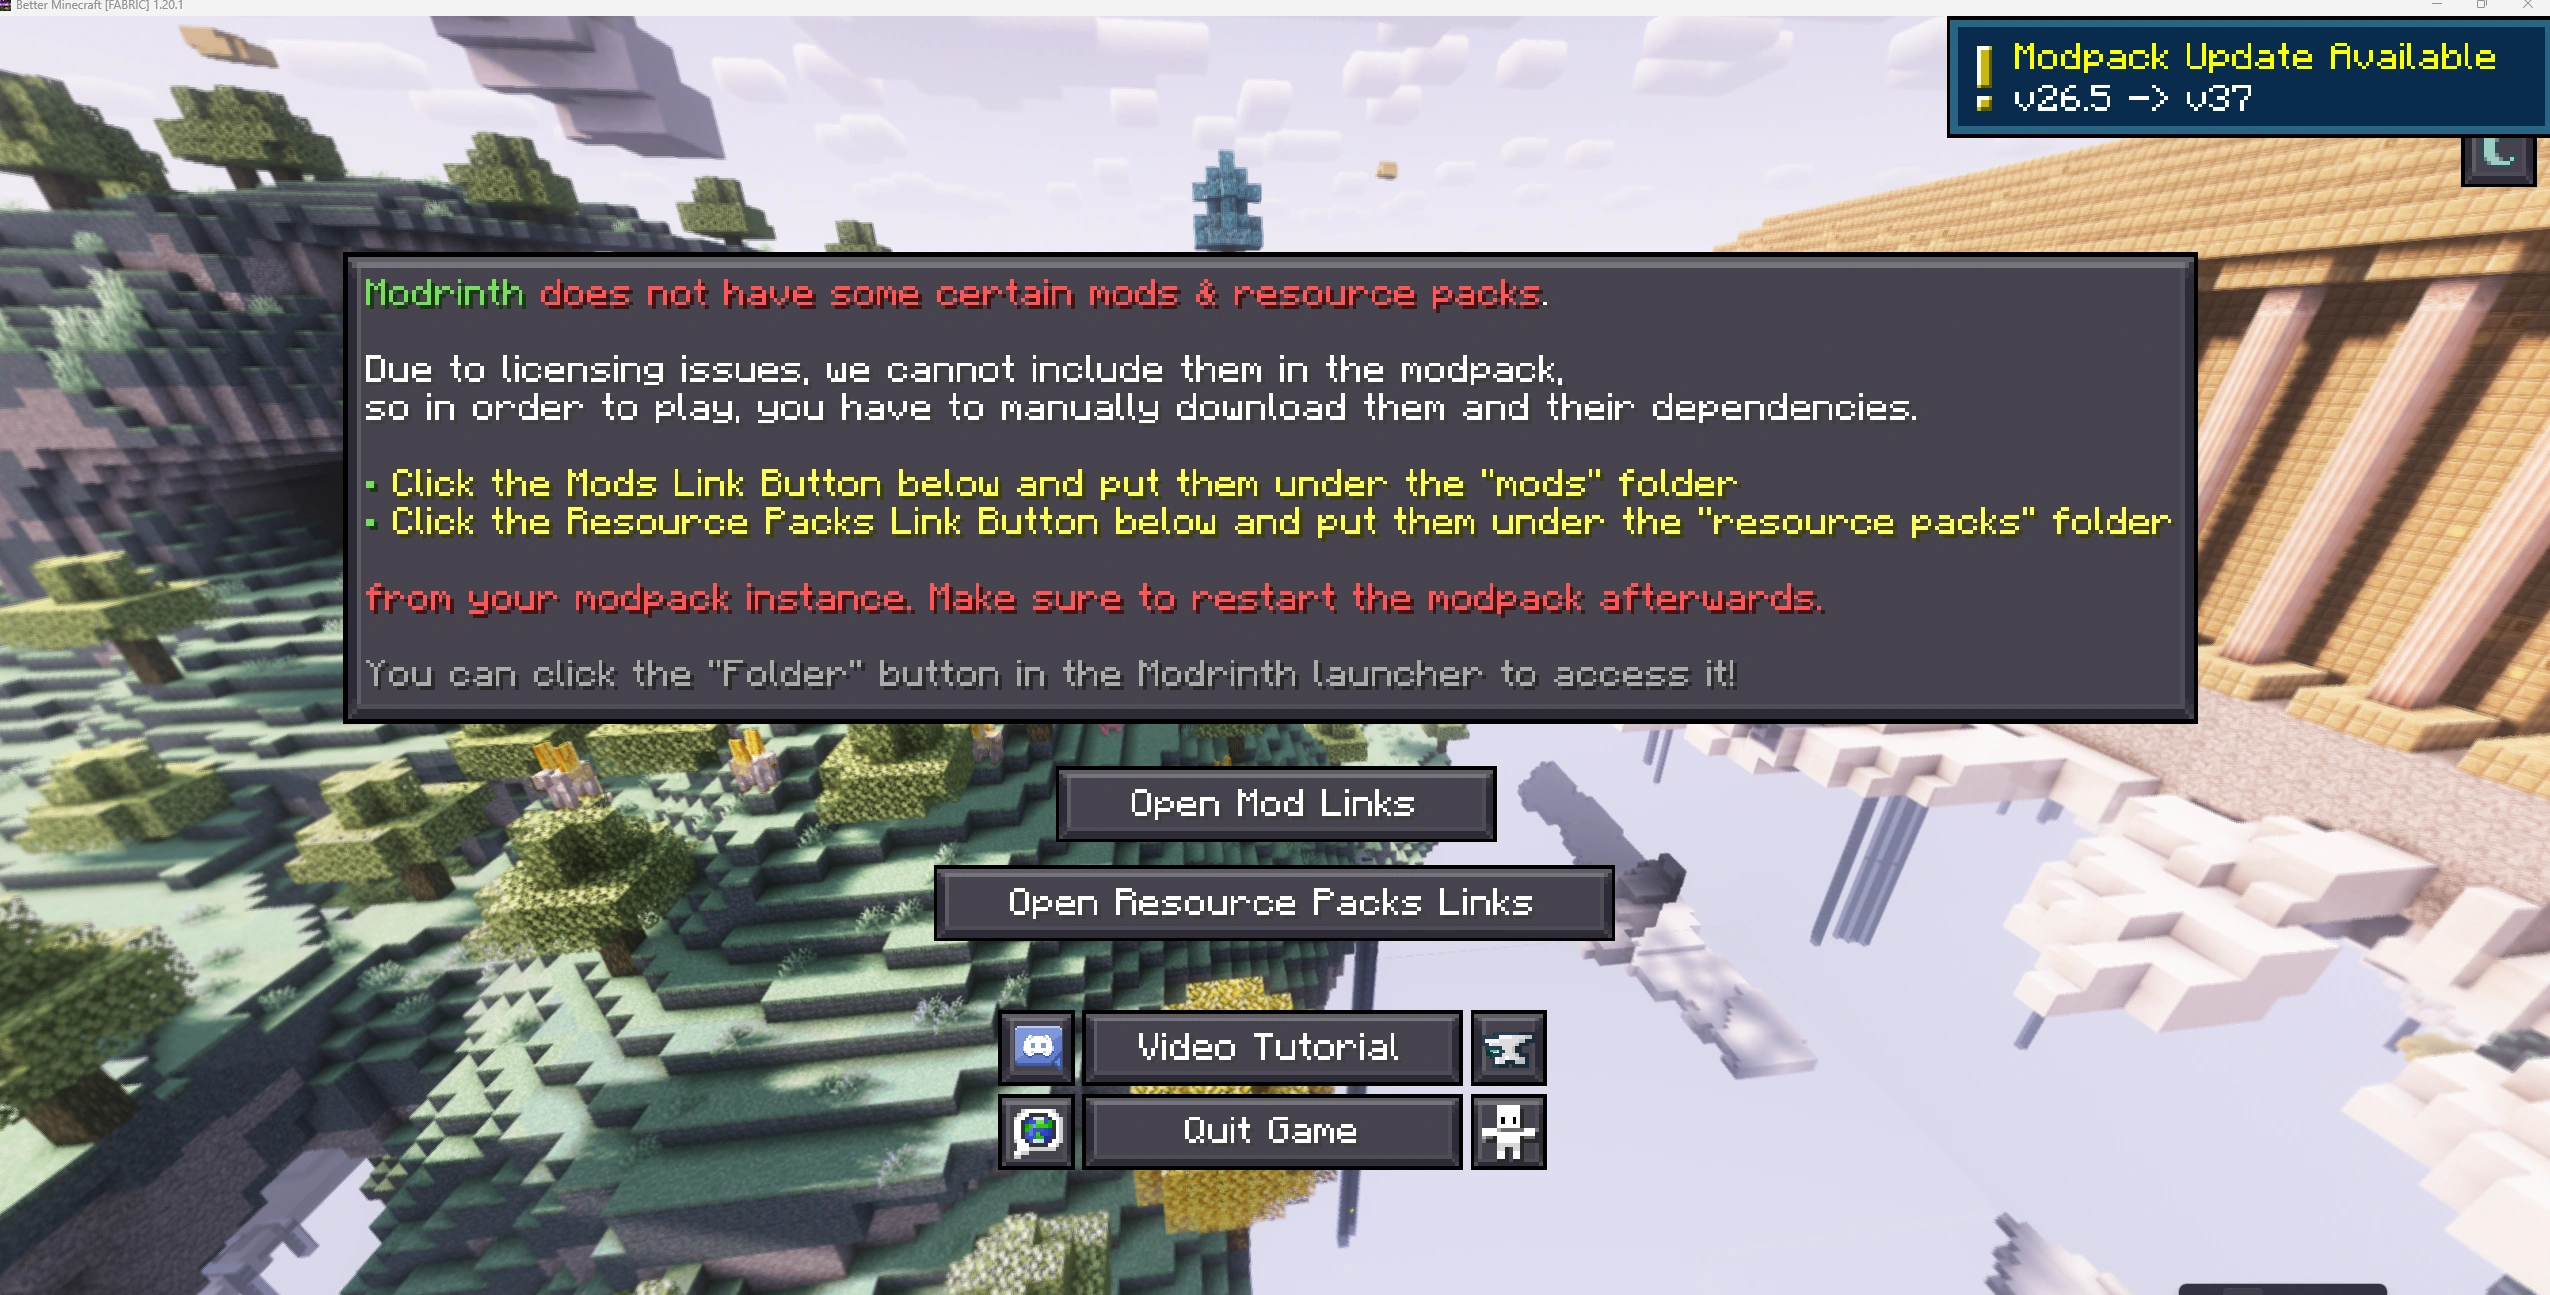
- Missing mods message: Very rarely, some mods may need to be added manually. The app will display a message with an “Open folder” button that takes you to the correct directory.
- Low performance (FPS): Besides increasing RAM, consider installing additional optimization mods like Sodium (for Fabric) or OptiFine (for Forge) if the pack doesn’t already include them.
Uninstalling a Modpack
To uninstall a modpack, go to the Instances tab, right-click on the pack you want to remove, and select the “Delete” option. This will remove all files associated with that instance without affecting your other modpacks or the vanilla version of the game.

Downloads & Links
- Download Modrinth App — Official Website